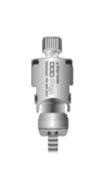

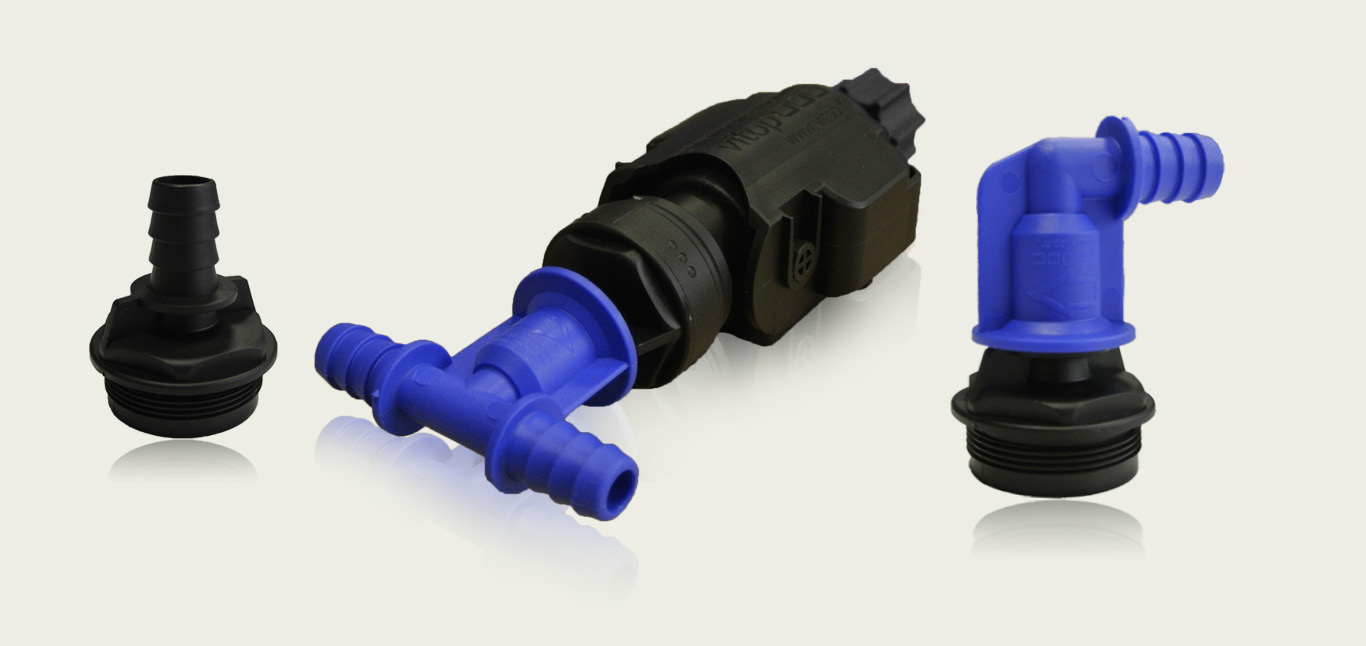
S Connector
Information
Features
More information
Instructions
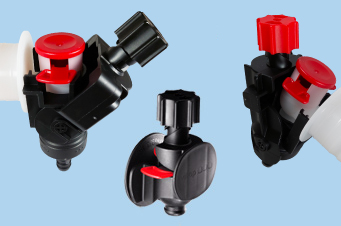
HOW TO USE THE CONNECTOR ?
Please take care to remove the tamper-proof seal of the tap before use.
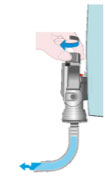
1
Place the tube on
the connector

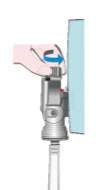
2
Place the tap inside
the connector
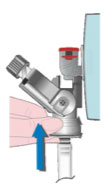
3
Push (swivel) to close
the connector
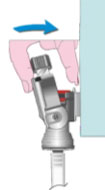
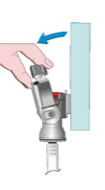
4
Twist the red knob
1
Open the connector
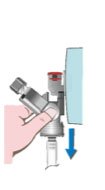
2
Pull (swivel) to open the connector
3
Remove the connector
When putting the connector back together after cleaning, it is important to reseat the valve the right side up.
Some users simply flush a cleaning liquid periodically through the connector or let the entire connector sit in a sanitizing solution, but is also possible to disassemble the connector for complete cleaning of all components.
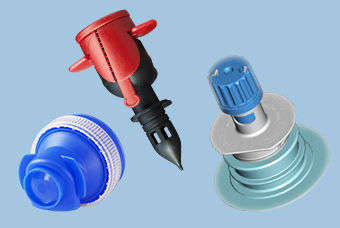
Taking the S-Connector apart
1
Unscrew the end fitting
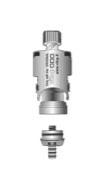
2
Apply pressure from above to remove the valve
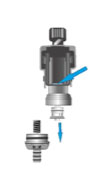
3
Clean the valve, spring, and the connector body
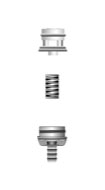
Putting the S-Connector back together again
4
Place the valve in the connector and the spring into the end-fitting
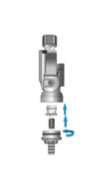
5
Assemble the connector, screw on the end-fitting tightly